


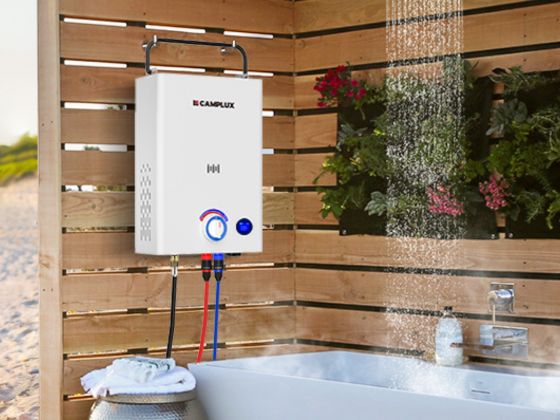
Camplux outdoor water heaters are a lifeline for hot showers and cleaning when you're off the grid or at a campsite. These propane-powered, tankless outdoor water heaters provide instant hot water on demand, making them ideal for camping and off-grid living. Whether you have an ultra-portable Camplux Nano 3 Pro or a high-capacity Camplux F10 portable unit, regular maintenance is key to keeping your portable outdoor water heater running safely and efficiently. In this guide, we'll cover routine maintenance tips to extend the life of your Camplux water heater and ensure it's always ready to deliver hot water whenever and wherever you need it.
1. Prioritize Safety Before Maintenance
Before performing any maintenance, safety comes first. Start by turning off the heater and disconnecting it from any gas supply and water source. Ensure the unit is cool to the touch. Working with a propane gas appliance means you should always be cautious of gas leaks and combustion safety. Perform a quick leak check on all gas connections using a soapy water solution: apply soapy water to the regulator, hose, and fitting connections, then open the gas briefly (without lighting the heater) to see if any bubbles form. If you detect leaks, tighten connections or replace faulty components before using the heater. It's also wise to review gas safety guidelines (e.g., proper ventilation and no open flames nearby) as part of your maintenance routine. Always keep the area around your heater clear of flammable materials and ensure adequate ventilation when the unit is in use to prevent carbon monoxide buildup. Safety measures like these protect you and your equipment during maintenance and operation.
2. Clean the Burner and Exterior Vents
One of the most important maintenance tasks is cleaning the burner and the heater's ventilation passages. Over time, dust, dirt, or soot can accumulate around the burner and exhaust vents, especially with frequent outdoor use. A dirty burner can cause inefficient combustion (yellow flames or soot) and reduced heating performance. To clean it, first remove or open the heater's cover according to the manufacturer's instructions to access the burner assembly. Use a soft brush or compressed air to gently clear any dust, spider webs, or debris from the burner holes and interior surfaces. Be careful not to damage any wires or the igniter electrode while cleaning. Also, check the intake air vents and exhaust outlet for obstructions – insects or dirt can clog these areas over time. Wipe down the exterior vent screens to ensure proper airflow. Regular burner cleaning (at least once a season) will help your heater burn propane efficiently. After cleaning, reassemble the unit and perform a test ignition to ensure the flame is strong and mostly blue. This simple routine will keep your propane outdoor gas water heater running at peak performance and prevent potential issues from soot buildup.
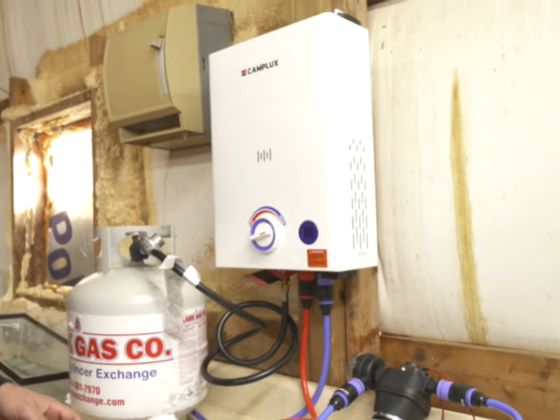
3. Descale and Flush the Water System
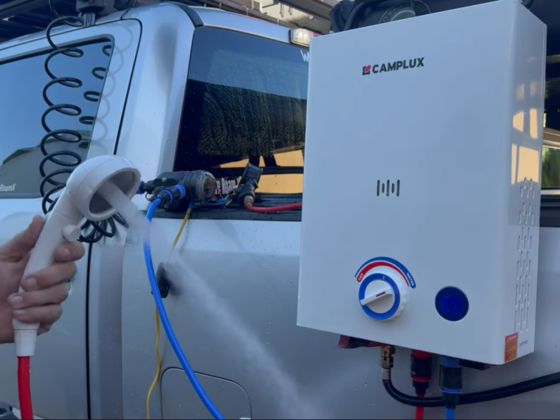
Mineral deposits and sediment can build up inside your water heater's internal tubing, especially if you frequently use hard water from wells or natural sources. Over time, scale can restrict water flow and reduce heating efficiency. Descaling is an important maintenance step to keep any tankless heater running smoothly. Every few months (or at least once a year), flush the water system of your Camplux heater. To do this, disconnect the water inlet hose and connect a short hose that you can place into a bucket of descaling solution (for example, a mixture of white vinegar and water). Pump the solution through the heater (using the built-in or included pump on models like the Nano, or by gravity feed if applicable) to circulate it through the internal heat exchanger. Let the solution sit for 10–15 minutes to dissolve scale, then flush the system with clean water to rinse out any residue. Also remember to clean the small inlet filter screen (if your model has one) to remove dirt or sand that could clog the flow. While at it, check the shower head and outlet hose for mineral buildup or debris – soak the shower head in vinegar if its nozzles are clogged. By regularly flushing and descaling, you ensure your Camplux camping outdoor water heater provides strong water flow and consistent hot water temperature on every trip.
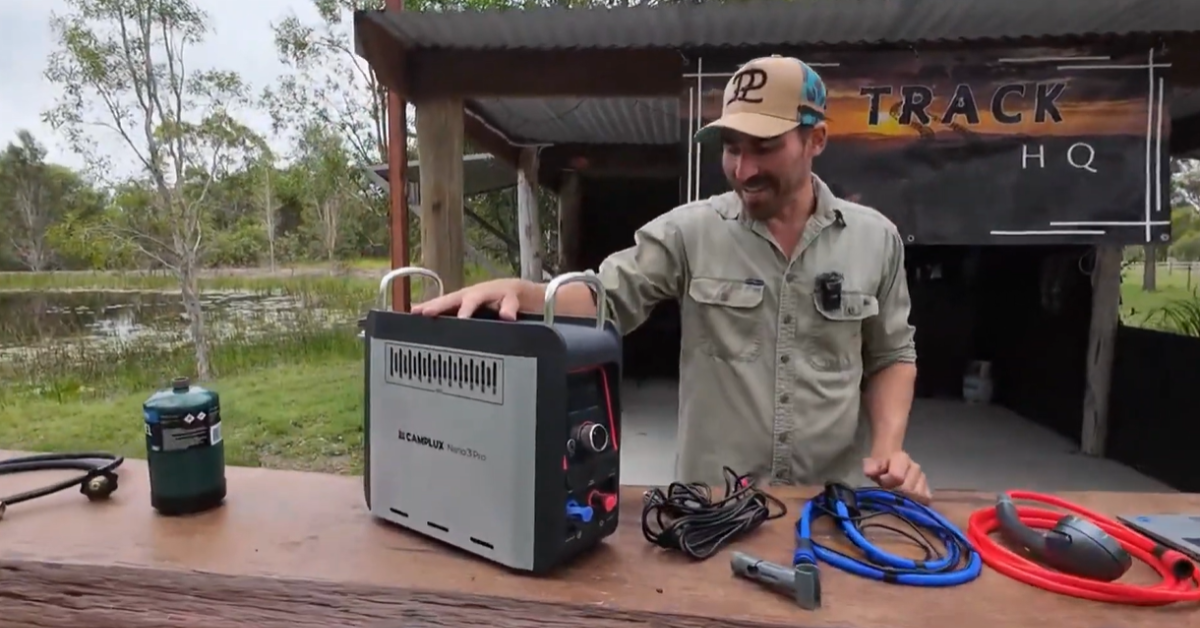
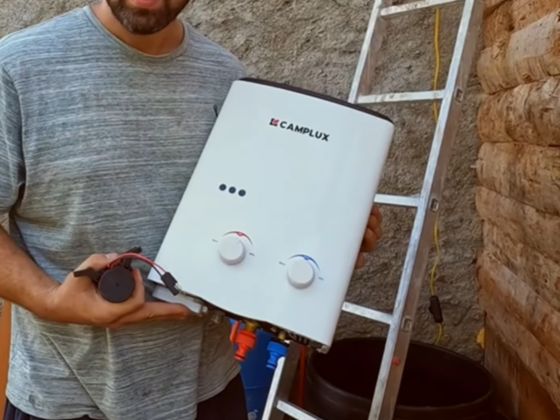
4. Inspect Hoses, Connections, and Accessories
Your Camplux outdoor water heater relies on several accessories and connections that also need routine inspection. Before and after each extended use, take a few minutes to examine the water hoses, gas hose, regulator, and fittings:
-
Propane Gas Hose & Regulator: Look for any cracks, cuts, or wear on the propane hose. If you smell gas or the leak test from step 1 indicated issues, you may need to replace the hose or rubber washers. Ensure the regulator isn't rusted or damaged. Using a high-quality replacement from Camplux or compatible parts is important for safety.
-
Water Hoses and Pump: Check the water inlet and outlet hoses for kinks, cracks, or leaks. If your heater uses a 12V pump (like the Nano 3 Pro's pump), inspect the pump filter and impeller. Clear any debris from the pump filter to maintain proper water flow. A clogged pump or hose can cause the heater to shut off due to low water flow.
-
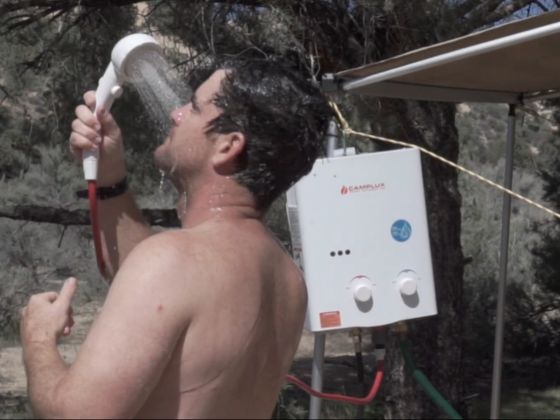
Shower Head and Fixtures: Make sure the shower head trigger and nozzles are working properly. Clean out any sediment (as mentioned in the descaling section) so the water sprays correctly. Replace the washer or O-ring in the shower head connector if it's leaking.
-
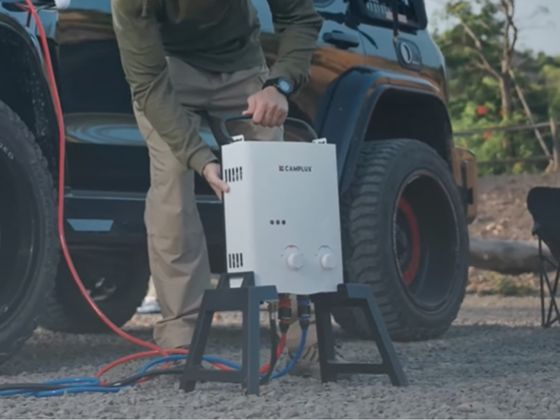
Mounting and Hardware: If you use mounting brackets or hangers for your heater (for instance, hanging the F10 from a tree or vehicle), check that all screws and brackets are secure and not bent or broken. Tighten any loose hardware.
Replacing worn parts in a timely manner prevents small issues from turning into major problems. Keep some spare O-rings, hose washers, and other Camplux accessories on hand for quick fixes. If any component looks compromised, swap it out and consider reading our guide on water heater accessories and replacements for tips on choosing the right parts. By giving some attention to these supporting components, you'll ensure your heater setup remains safe and leak-free.
5. Check the Ignition System and Battery
Most Camplux outdoor heaters use an automatic ignition system – either powered by batteries (for example, 2 D-cell batteries in larger models like the F10) or a built-in rechargeable battery (as in the Nano 3 Pro). Maintaining the ignition system is crucial for reliable startups:
-
Battery Maintenance: If your unit uses disposable batteries, remove them when the heater is not in use for long periods (this prevents corrosion leakage). Test or replace the batteries at the start of each camping season so you have strong ignition sparks. For models with rechargeable batteries, charge the battery fully before storage and top it up every few months; never store a lithium battery completely drained. A healthy battery ensures the igniter has the power it needs.
-
Igniter and Electrode: The igniter (or spark electrode) should be free of corrosion and properly aligned. If you notice the heater having trouble igniting, inspect the igniter tip inside the burner area. Gently wipe it with a dry cloth to remove carbon deposits or residue. Make sure the wiring to the igniter is secure. Caution: Always do this with the unit powered off and gas disconnected. If the igniter appears damaged or very worn out, you may need to get a replacement igniter module from Camplux.
-
Manual Piezo (if applicable): Some older or smaller portable models might use a piezo push-button igniter. If yours does, ensure the button and mechanism aren't stuck or broken. You should hear a clicking when pressed. If it fails, that part can often be replaced as well.
By keeping the power source fresh and the ignition components clean, your heater will light up on the first try, saving you the frustration of repeated clicks or failed startups in the cold. Should you encounter persistent ignition issues, consult a professional or reach out to Camplux support – but often a battery swap or electrode cleaning does the trick.
6. Proper Storage and Winterizing
When you're done using the heater for a while – be it the end of a camping trip or the off-season – proper storage is vital. Start by draining all water from the unit. Water left inside can corrode internal parts and will freeze and cause damage in cold weather. Most portable tankless heaters have a drain plug or valve; open it and let the water out. Also disconnect and empty the hoses and pump. Shake out any residual water and let everything air-dry. For extra protection, you can flush a small amount of RV antifreeze through the water lines if you plan to store the heater in freezing temperatures, but never use automotive antifreeze or anything toxic in a water heater used for showers.
Next, turn off and disconnect the propane cylinder. It's safest to remove the gas regulator and hose from the unit and store them separately (coiled neatly without kinks). Remove the batteries from the heater (if removable) to prevent corrosion and store them in a cool, dry place. For units with built-in batteries, ensure they have a partial charge and are stored in a moderate temperature environment.
Store your water heater in an upright position in a dry, well-ventilated area. If you have a storage case or even just the original box, use it to keep dust and pests out. You might cover the heater with a breathable cloth or cover – avoid plastic covers that trap moisture, unless the unit is fully dry. It's also a good idea to periodically check on the stored heater. Tip: mark your calendar to do a mid-winter check or an off-season power-on test, so you can address any issues before your next adventure.
Finally, before the next time you use the heater, give it a quick once-over and perform any needed maintenance tasks (cleaning, battery reinstall, etc.) so that it's ready to go. For more detailed guidance on preparing your unit for cold weather or long-term storage, see our winterizing your water heater tips in the Camplux blog.
7. Follow a Maintenance Schedule for Longevity
Consistency is key when it comes to maintenance. Create a simple schedule or checklist for your Camplux water heater to stay on top of these routine tasks. For example, you might plan to do a thorough cleaning and inspection at the start of spring camping season, another check mid-summer, and a full maintenance + winterizing in late fall. If you're using your heater year-round or on an extended off-grid adventure, consider inspecting it every month or two. Regular maintenance not only prevents malfunctions at inconvenient times but also extends the lifespan of your heater. A well-maintained unit will serve you safely for many years – providing warm showers on chilly mornings and reliable hot water whenever you need it.
By taking care of your Camplux heater, you're safeguarding your investment in outdoor comfort. These routine steps ensure your off-grid hot water system remains dependable, so you can focus on enjoying your outdoor experiences. Even when living or traveling off the grid, a properly maintained off-grid water heater will deliver the convenience of hot water on demand without trouble. Remember, a little time spent on maintenance goes a long way. With these tips, your Camplux outdoor water heater – be it a compact camping model or a larger tankless unit – will be ready to give you instant hot water for all your adventures. Happy camping and stay warm out there!