


Whether your heater lives on the patio for winter dinners or joins you on a camp trip up the coast, a little regular TLC keeps it running hotter, safer, and for far longer. This guide is written for Australian conditions—salt air, dust, spiders, wild temperature swings—so you can keep your LPG/propane outdoor heater in top nick without making a weekend of it.
Who this guide is for
-
Homeowners and renters using patio, freestanding "umbrella," tabletop, or portable camping heaters
-
Aussie campers and caravanners running small gas heaters in properly ventilated outdoor spaces
-
Anyone who'd rather prevent problems than pay for big fixes later
Goal: Improve safety, heat output, and lifespan, while keeping maintenance quick and realistic. No fiddly nonsense—just what actually works.
Why bother with regular cleaning?
1) Better heat for less gas.
Soot, dust, and spiderwebs clog the airways and burner ports. A clean burner mixes air and gas properly, producing a steady blue flame and strong heat, which means less gas used per hour.
2) Safer operation.
Restricted airflow can cause lazy yellow flames, flare-ups, or sooting. Left unchecked, that's a carbon monoxide (CO) risk and a fire hazard. Maintenance also catches cracked hoses or perished O-rings before they become leaks.
3) Built for Australia's environment.
-
Coastal homes: salt mist can pit stainless and corrode fittings.
-
Inland & regional: dust, pollen, and insects (hello, spiders) love burner cavities.
-
Windy decks: gusts can disturb flames if air channels are already borderline.
A quick clean keeps the heater prepared for all that.
4) Longer lifespan.
Corrosion and grit shorten the life of burners, reflectors, and ignition parts. Thirty minutes here and there can add years to an otherwise expensive appliance.
Safety first (non-negotiable)
Before you even pick up a cloth:
-
Shut off the gas at the bottle and let the heater cool completely.
-
Work outside in free air. Outdoor heaters are for outdoor use only—never use them in enclosed rooms, garages with doors closed, tents, or vans.
-
Keep flames and cigarettes away while you're cleaning or leak-testing.
-
Use the right gas gear. Your regulator and hose must match the appliance rating and local cylinder fittings. Replace parts that look suspect.
-
Follow your manual and Australian requirements. Heaters sold here are designed to meet relevant AS/NZS standards. If a job involves internal gas passages, regulator faults, or wiring beyond basic battery swaps, book a licensed gas fitter.
-
If you ever smell gas strongly: turn off the cylinder immediately, move away, and investigate safely. When in doubt, don't relight—get a pro.
Tools and supplies you'll actually use
-
Soft brush & small detail brush (old toothbrush works a treat)
-
Lint-free cloths and a slightly damp microfibre cloth
-
Mild detergent and warm water
-
Compressed air can (optional but handy)
-
Cotton buds for tight spots
-
Soapy water for leak checks (dishwashing liquid + water in a spray bottle)
-
Screwdriver (to access panels per your manual)
-
Light stainless cleaner/polish for brushed surfaces
-
Spare bits as needed: fresh AA/AAA battery for piezo/electric ignition, new O-rings, PTFE gas thread tape rated for gas (only where your manual specifies—never on flare fittings)
Tip: Keep a small "heater kit" in a caddy so you're not hunting brushes on a cold night.
Know your heater and its key parts
You'll see a few common formats:
-
Freestanding patio/umbrella heaters: tall post, circular reflector on top, big burner head.
-
Tabletop heaters: mini versions for small areas.
-
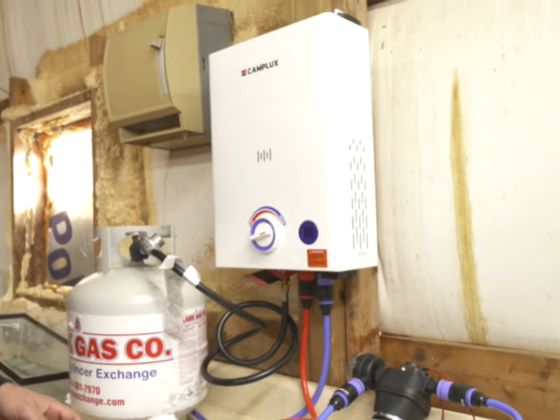
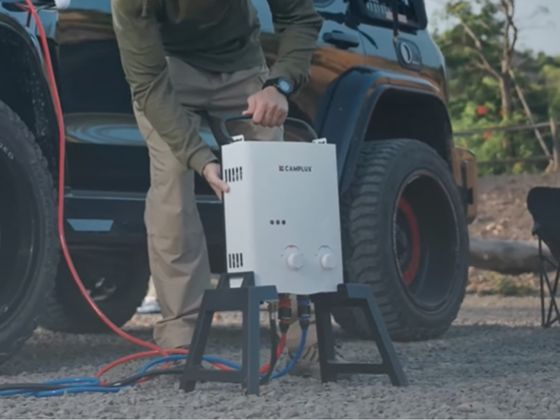
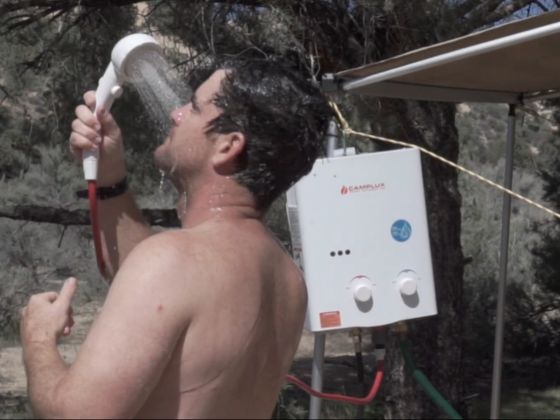
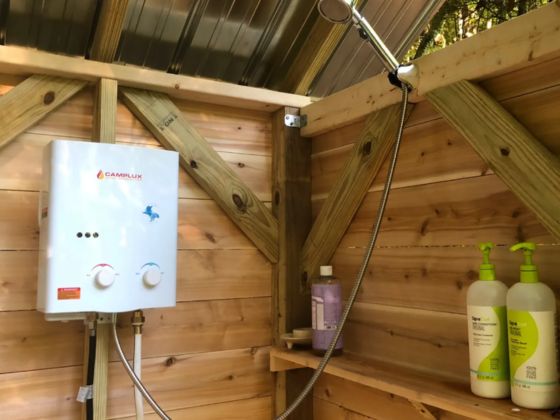
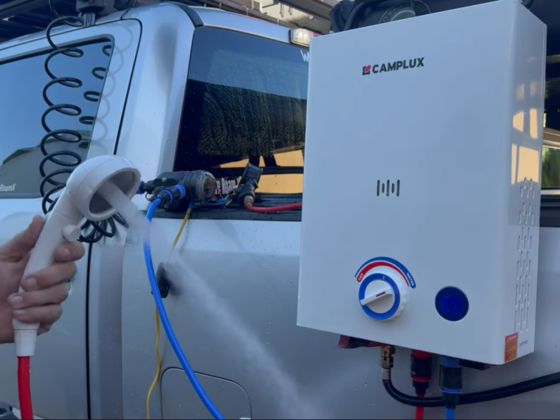
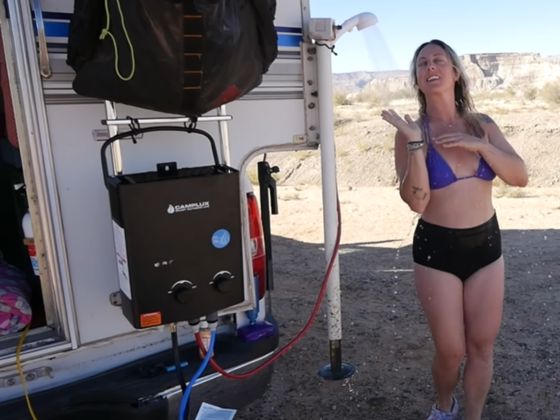
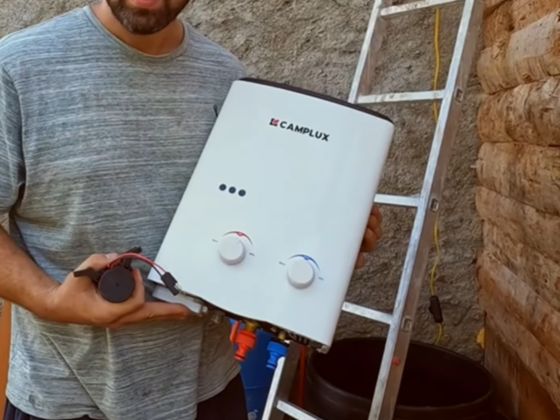
Portable camping heaters: compact, often with built-in regulators for 1–9 kg bottles (outdoor use, always). For camp showers, a portable water heater is purpose-built.
Key components to mind:
-
Burner head & ports (where gas mixes and ignites)
-
Air intake and wind shields (keep airflow stable)
-
Ignition system (spark electrode and battery/piezo button)
-
Safety devices (thermocouple, ODS—oxygen depletion sensor, tilt switch)
-
Regulator & hose (pressure control and gas delivery)
-
Connections & O-rings (seals that age over time)
-
Reflector & body panels (corrosion and soot magnets)

The 15-minute routine clean (do this monthly in winter, quicker if you're a heavy user)
You can smash this out between marinating the snags and setting the table. It's that quick.
-
Exterior wipe-down
Mix a drop of mild detergent with warm water. Wipe the body, base, and reflector to remove fingerprints, salt, and soot. Follow the grain on brushed stainless. Dry with a lint-free cloth so it doesn't spot. -
Clear the air pathways
Remove any small access screens per your manual. Use a soft brush and/or compressed air to clear dust, leaves, and spiderwebs from air intakes and around the burner housing. Good airflow equals a clean, blue flame. -
Freshen the burner head and ports
Brush gently across the burner mesh or ports to flick off soot. If your model has visible port holes, a cotton bud helps dislodge fluff. Avoid poking anything sharp that could deform holes. -
Ignition check
Open the little ignition compartment, swap the battery if your model uses one, and wipe the spark electrode with a dry cotton bud. If the electrode is adjustable, ensure the tip sits roughly 3–5 mm from the burner (check your manual for the exact gap). -
Hose & connection inspection
Run your hand (eyes, really) along the hose. If you see cracking, bulges, kinks, or scuffs that look deep, retire it. Check O-rings at the cylinder and appliance end—flattened, nicked, or brittle rings need replacing. -
Quick leak test
Reattach the hose and open the cylinder valve slightly (do not light). Spray or brush soapy water onto:
-
Cylinder valve and connection
-
Regulator body and joint to the hose
-
Appliance inlet and any unions you've touched
Watch for bubbles that keep forming: that's a leak. Shut the gas, re-seat the fitting, and re-test. Persistent bubbles? Do not use—call a gas fitter.
-
Test-fire and flame check
Light the heater outdoors per the manual. You want a mostly blue flame with small yellow tips at most, and a steady sound—not roaring, not coughing. If it's lazy, very yellow, or lifting off the burner in windless conditions, skip to troubleshooting.
That's it. No dramas.
Deep maintenance (seasonal or after heavy use)
Do this before winter kicks off (May/June) and again if you've hammered the heater all season.
1) Burner & injector clean (manual-guided)
Some models allow access to the injector/jet or internal burner surfaces. If your manual shows how, remove the parts carefully and soak crusted bits in warm soapy water. Rinse, dry completely, and reassemble. Don't enlarge holes or scratch soft brass. If it looks beyond a basic clean, book a pro.
2) Corrosion patrol
Salt or rain can start tea-staining on stainless and surface rust on screws or brackets. Use a non-abrasive stainless cleaner to remove marks and apply a light protective coat. Replace rusty fasteners with stainless equivalents where safe.
3) Sensor tidy-up
-
Thermocouple tip: Wipe gently; don't bend it.
-
ODS (oxygen depletion sensor), if fitted: Keep the pilot area dust-free so it can "breathe."
-
Tilt switch: Make sure it's secure and free of debris.
If any safety device seems unreliable (flame won't stay lit, randomly cuts out), don't bypass it—get it checked.
4) Replace perishables
-
Hoses: Many people proactively replace rubber hoses every 3–5 years (earlier if cracked, stiff, or UV-damaged).
-
O-rings: Cheap and critical; swap at the first sign of flattening or nicks.
-
Ignition batteries/electrodes: Freshen annually or when the spark weakens.
5) Regulator health
Check that the regulator's vent hole isn't clogged (a small bug screen or vent on the body). If it's wet from rain or smells of gas, retire it and replace like-for-like.
How often should you maintain it? (Australia-specific tips)
-
Full clean, hose/regulator check, ignition battery, leak test, and a 10-minute test run on a calm day.
-
If you live coastal, add a corrosion inspection and stainless polish.
-
If you're in a dusty or rural area, spend extra minutes clearing intakes and burner cavities.
During the season (monthly for casual use; fortnightly for heavy use):
-
15-minute routine clean + flame check.
-
Quick leak test if you've moved the cylinder, changed bottles, or noticed any odd smells.
After the season (storage prep):
-
Wipe down everything, let it dry, shut off and disconnect the cylinder, and cover the heater.
-
Store the cylinder outdoors, upright, and away from heat sources; never in a bedroom or confined indoor space.
Bushfire seasons & windy days:
-
Keep combustible items well clear (furniture cushions, curtains, dry leaves).
-
Shield from direct wind gusts if possible; wind can distort flames and stress hot parts.
Quick troubleshooting: symptoms, likely causes, fast fixes
Yellow, lazy flame or soot on reflector
-
Likely: Dust/spiderwebs in air intakes or burner ports; wrong air–gas mix.
-
Fix: Clean intakes and ports; check for wind; confirm regulator and hose are healthy.
"Whoof" sounds, pulsing, or flame lifting off the burner
-
Likely: Too much wind, partially blocked air path, or irregular gas pressure.
-
Fix: Shield from wind; clean airways; if it persists in calm air, the regulator may be failing—replace or call a pro.
Won't light or keeps going out
-
Likely: Flat ignition battery, dirty spark electrode, misaligned electrode gap, or thermocouple/ODS issues.
-
Fix: Replace battery; wipe electrode; confirm gap per manual; if still fussy, book a technician.
Smell of gas
-
Likely: Loose fitting, damaged O-ring, perished hose.
-
Fix: Shut gas; leak test with soapy water; replace seals/hose; if you can't stop bubbles, do not use—get it serviced.
Flame fine, but not much heat
-
Likely: Reflector dirty or misaligned, or you're losing heat to wind.
-
Fix: Clean/polish reflector; angle to bounce warmth into the seating area; consider wind screens (non-combustible, safe distances).
Choosing and caring for parts & accessories
Hoses and regulators
Buy to the correct pressure and connection spec for your heater and cylinder (e.g., common 9 kg BBQ bottles).
O-rings and seals
Tiny, cheap, vital. Keep a little pack in your kit. Replace at the first sign of flattening or nicks.
Ignition batteries and electrodes
Swap the battery at the start of winter; keep one spare on hand. Electrodes are consumable—replace when the spark is weak even after cleaning and correct gapping.
Covers and storage
A decent weather-resistant cover keeps dust, salt, and UV off, especially on the coast. Make sure the heater is cold and the gas off before covering.

When to call a licensed gas fitter
Some jobs are DIY-friendly; others are not. Get a pro when you see:
-
Persistent or untraceable leaks
-
Regulator faults, pressure irregularities, or damaged internal gas components
-
Repeated flame failures not solved by cleaning or basic adjustments
-
Physical damage to the burner assembly, gas train, or control valves
-
Any modification beyond what your manual allows
It's your safety on the line—this is one place to be conservative.
Storage and transport (home and on the road)
At home
-
Turn the cylinder off and disconnect if storing the heater for weeks.
-
Store the cylinder upright outdoors, in a shaded, well-ventilated area.
-
Use a cover to keep critters and grime out of the burner.
Camping or caravanning
-
Keep the cylinder upright and secured during transport.
-
Never leave a hot heater in a confined car or under piled-up gear.
-
Protect the regulator and hose from knocks and kinks.
Environmental care and disposal
-
Choose gentle cleaners that won't harm decking, plants, or waterways.
-
Dispose of old hoses and metal parts properly. Many transfer stations accept metal; ask your council about options.
-
Never dump gas cylinders. Even "empty" bottles can be dangerous—use approved swap services or council programs.
Frequently asked questions (short and sweet)
Can I use a gas outdoor heater in a carport or under a pergola?
Only if your model is explicitly rated for use under a roof with adequate ventilation and clearances defined in the manual. Enclosed garages or rooms are out—CO risk is no joke.
How often should I do a leak test?
At the start of each season, whenever you reconnect a bottle, after moving the heater, and any time you smell gas. It takes 60 seconds with soapy water.
What should the flame look like?
Mostly blue and steady. Occasional small yellow tips are okay; sooty, floppy yellow flames mean "clean me" or "check the airways."
It got rained on—what now?
Let it dry completely. Wipe the burner and electrode area, then test-fire. If the flame misbehaves or you hear odd noises, clean the air intakes and burner ports. Persistent issues? Have it inspected.
Can wind damage the heater?
Strong gusts can distort flames and stress hot parts. Use in a sheltered spot, keep combustibles clear, and never enclose the heater in plastic or fabric to block wind.
Step-by-step recap (the "no-fuss" checklist)
-
Turn gas off, cool down, and work outside.
-
Wipe the body and reflector with mild detergent; dry.
-
Brush out air intakes, wind shields, and burner ports; use compressed air if needed.
-
Clean the ignition electrode; replace the battery.
-
Inspect hose and O-rings; replace at first sign of wear.
-
Reconnect and do a soapy-water leak test.
-
Test-fire and confirm a steady blue flame.
-
Once a season, do deeper cleaning and swap perishables.
-
Store clean, covered, and with the gas off. Cylinders live outside, upright.
Stick to that routine and your heater will run like a champ through winter and be ready for next year with minimal fuss.
Final word
Regular cleaning isn't busywork—it's the simplest way to get stronger heat, safer operation, and more years out of your gas-powered outdoor heater. Australia's climate throws everything at outdoor gear: salt, dust, wind, and the occasional eight-legged tenant. A quarter-hour clean each month during winter plus a solid seasonal service keeps you ahead of it all.
If you need compatible hoses, regulators, covers, batteries, or just a sanity check on what fits your unit, check your owner's manual and source parts from reputable Australian retailers such as Camplux. And if something seems off—even after a clean—hand it to a licensed gas fitter. Better to be safe than sorry.
Stay warm, stay safe, and enjoy those crisp evenings outside.


