


Want your Camplux to spark up first go, sip gas, and deliver steady hot water wherever you camp, tour, or shower out the back? This guide keeps maintenance short and sweet—no tech novel, just the stuff that actually prevents hassles. Save it, share it, and you’re sorted.
TL;DR: The super-short checklist
Before you head out (2–3 minutes):
-
Hose & regulator glance: No cracks, no kinks, fittings hand-tight.
-
Quick leak test: A few sprays of soapy water on gas connections while the bottle’s open. No bubbles = all good.
-
Water filter check: Unscrew the little inlet filter, flick out any grit.
-
Power check: Fresh batteries or stable power (if your model uses them).
-
Open air: Plan to run in a well-ventilated spot, out of strong cross-winds.
After each use (1–2 minutes):
-
Drain the water: Turn off, disconnect water, tilt gently to let water run out.
-
Wipe & dry: Quick wipe of the case and connections; let it air for a minute.
-
Cap & coil: Close the bottle, cap the valve, coil hoses without sharp bends.
-
Store upright: Keep it out of rain/spray and direct sun if you can.
Once a month (or each trip if you use hard water):
-
Descale light: Run a quick fresh-water flush; do a short descale if flow or temp gets jumpy.
-
Look at the flame: Mostly blue, steady, no soot.
-
O-rings & seals: Soft and intact; smear a touch of food-grade silicone if dry.
-
Vents clear: No dust, leaves, or spider webs in intake/exhaust areas.
That’s the backbone. The rest below just adds a bit more colour so you know why it matters.
Safety & compliance (quick but important)
-
Outdoor use with ventilation only. Don’t box it in.
-
Keep clearances: Away from flammables and walls; don’t drape towels over it.
-
Gas work: If something needs dismantling beyond basic cleaning—or you suspect a regulator/valve issue—use a licensed gas fitter in your state.
-
Follow local rules: Especially during bushfire season and in holiday parks.
What you actually need on hand
-
Soapy-water spray (dish soap + water in a spray bottle) for leak checks.
-
Soft brush/cloth for dust and bug web clean-ups.
-
Screwdriver & small adjustable spanner (rarely needed, but handy).
-
Food-grade silicone grease for O-rings (tiny dab lasts ages).
-
Mild descaler approved for copper/brass heat exchangers (use when flow/heat drops).
-
Optional but helpful: Inlet pre-filter, carry bag/cover, replacement O-rings.
Keep it simple—most trips you’ll touch only the first two.
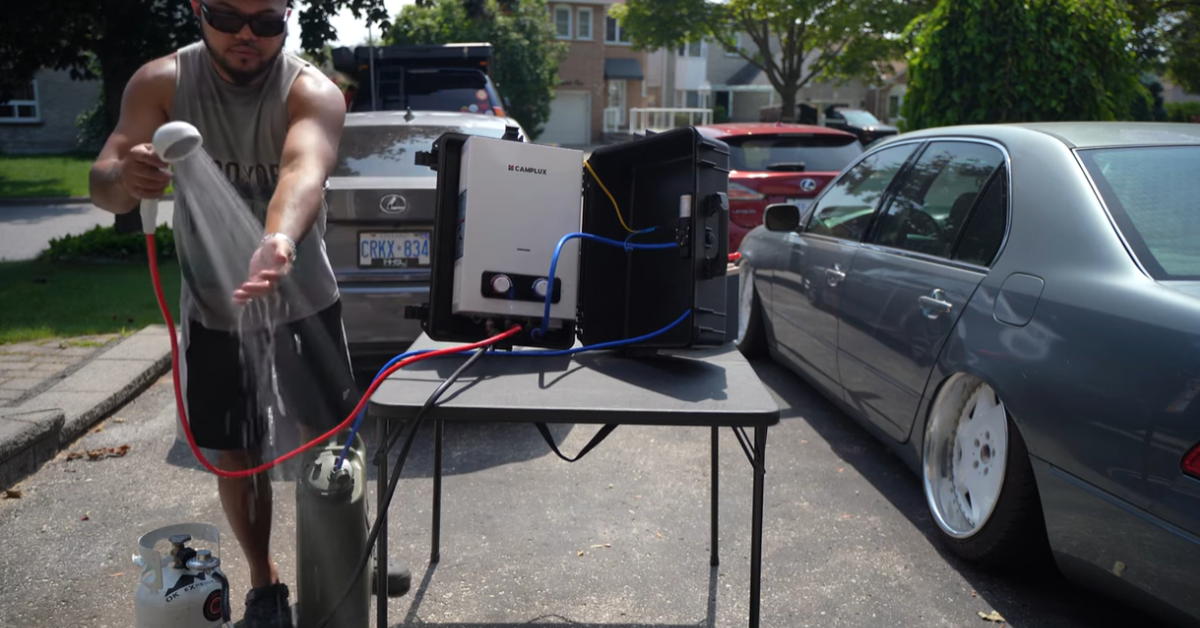
Before you fire it up (short routine)
-
Set up in clean air. Face the front away from strong cross-winds. Avoid tight corners and inside tents, vans, or sheds.
-
Stand the gas bottle upright. 9 kg or 4.5 kg bottles are common; keep the bottle stable on level ground.
-
Connect gas & water hand-tight. Don’t crank down with tools unless a manual specifies torque.
-
Soapy leak check (30 seconds): Bottle open, appliance off. Spray the regulator and every threaded joint. If bubbles grow, close the bottle and re-seat fittings. No bubbles? On you go.
-
Clear filter = smooth flow. A quick rinse of the inlet filter keeps the heater from "hunting" (hot-cold swings).
-
Power/battery check. Weak batteries cause misfires. If the click sounds lazy, swap them.
-
First run on low-medium flow. Let water run, then bump flame/flow to your sweet spot.
That’s plenty. No need to pull covers or calibrate anything for normal use.

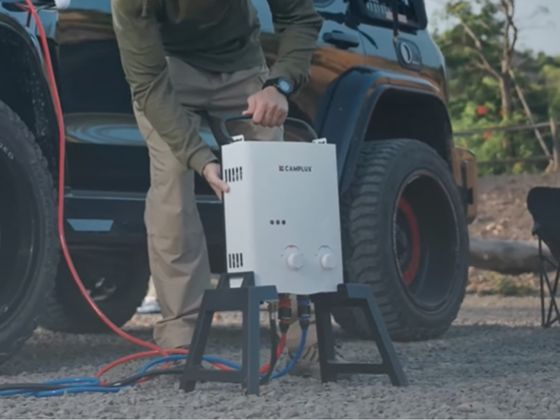
After you’re done (quick pack-down)
-
Turn off gas and water.
-
Drain it. Disconnect water and tip the unit slightly so residual water leaves the heat exchanger and lines. This avoids mineral build-up and protects against cold snaps.
-
Wipe, then breathe. Quick wipe; leave it open to the air for a minute so moisture clears.
-
Coil hoses without kinks. Sharp bends shorten hose life.
-
Store upright, out of sun and spray. If you have a cover, use it; if not, a dry box does the job.
Monthly (or when something feels "off")
1) Light descale, only when needed
When to bother: Flow feels weaker, water temp wobbles, or the unit needs more flame than usual for the same warmth—especially after inland/hard-water trips.
How (short version):
-
Mix a mild, suitable descaler per label.
-
Feed it through the water side at low flow for a short cycle (follow product timing).
-
Flush with clean water until it smells/tastes normal.
-
If you’re mostly on tank rainwater or filtered mains, you may skip this for months.
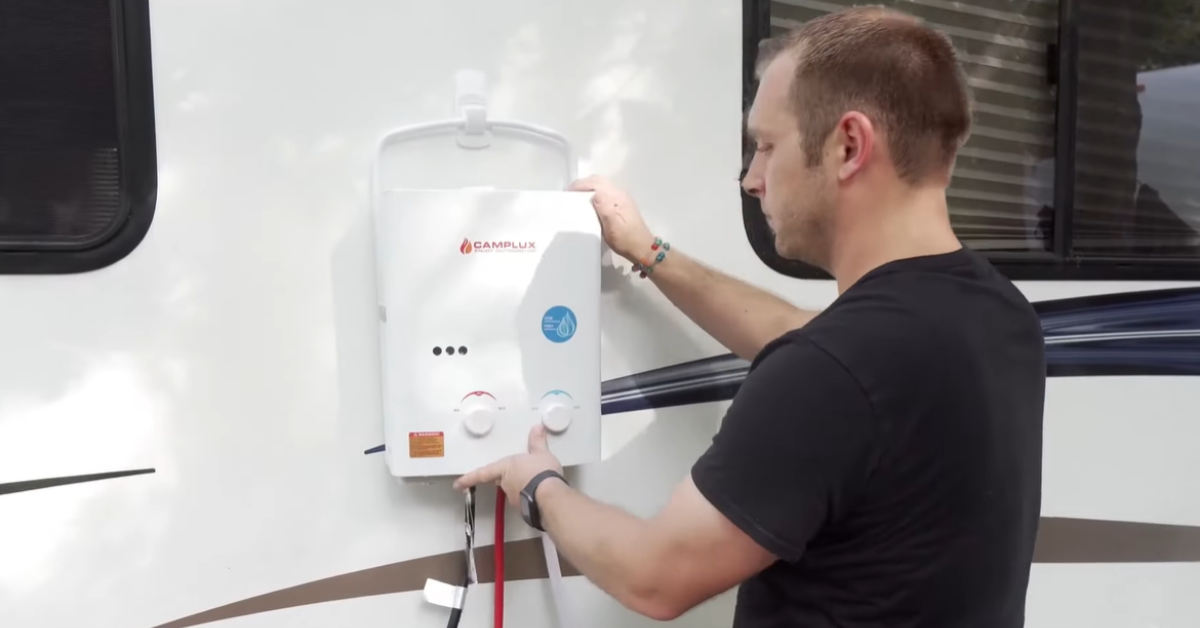
2) Flame glance
You want steady blue with a tight shape.
-
A bit of yellow/soot? Usually means dust, blockage, or poor airflow. Move to cleaner air, brush away fluff, make sure vents are clear.
-
Blowy day? Shield from cross-wind (without enclosing it).
3) Seals and hoses
-
O-rings: If cracked, flattened, or sticky, replace. A tiny smear of food-grade silicone keeps them supple.
-
Hose age: If the hose feels stiff, sun-bleached, or is over a few seasons old, plan a swap. UV is tough on rubber under Aussie sun.
4) Vents & critters
-
Brush out dust and evict any spiders/insects from the intake/exhaust areas. A quick look beats a lot of odd behaviour later.
Seasonal tips (coast, cold, corrugations)
Coastal trips (salt air):
Give the case and fittings a fresh-water wipe. Salt mist attracts moisture and grime.
Cold nights / high country:
LP gas vaporises slower in low temps. Keep the bottle off freezing surfaces, and run slightly lower water flow for better heat. Always drain the unit after use to dodge freeze damage.
Rough tracks / corrugations:
After a day of rattling around, check brackets and connections are still snug before the next shower.

Smoother performance with less gas
-
Flow and warmth balance: Higher flow = cooler water at the same flame. If you can’t hit your target temp, trim water flow a touch before maxing flame.
-
Showerhead choice matters: A modest, even spray pattern keeps temps steady.
-
Give it air: Combustion needs oxygen; better airflow = cleaner burn = better efficiency.
-
Bottle health: A near-empty bottle or a freezing-cold one can starve the flame. Swap bottles or warm them gradually to ambient (never with open flame, obviously).
You’ll feel these tweaks straight away without any tools.
Quick fault finder (fast and plain)
-
Sparks, fires, then dies: Wind gusts or low water flow. Move it out of cross-wind and nudge the flow up a notch.
-
Hot-cold-hot-cold cycling: Dirty inlet filter, inconsistent inlet flow, or scale. Rinse the filter first; if still wonky, do a light descale.
-
Weak heat even on high: Bottle low or cold, flow too high, or scale. Try a fresh bottle and slightly lower flow.
-
Yellow flame or soot: Poor air or blocked vent. Relocate to airy spot; brush away dust/spider webs.
-
Gas smell or hissing: Shut bottle off immediately. Re-seat fittings and re-test with soapy water. Still suspect? Call a licensed gas fitter.
If the same issue returns after these quick fixes, reach out to Camplux support or your local pro.
When to get a pro involved
-
You can’t pass a simple soapy-water leak test.
-
Abnormal flame persists after moving to clean air and brushing vents.
-
Internal parts look damaged, or you’re unsure about the regulator.
-
Anything that needs disassembly beyond user access.
For warranty and safety, a licensed gas fitter is the right call.
Tiny bit of admin that pays off
Keep a note in your phone: date, location, any maintenance, and parts you changed (like an O-ring). Snap a photo of receipts. It helps with warranty conversations and boosts resale value if you ever upgrade.
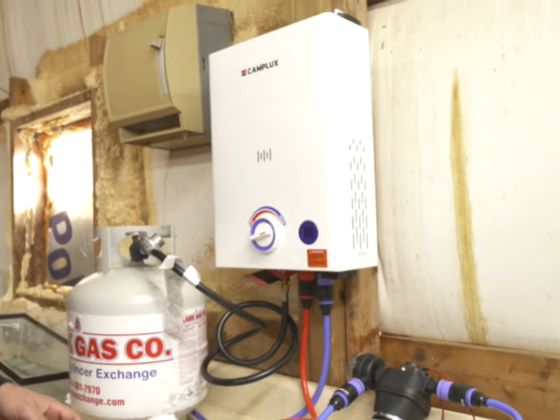
Aussie-specific notes
-
Bottles: 9 kg and 4.5 kg are everywhere. Swap-and-go makes life simple—just check your hose and regulator match and seat cleanly after a swap.
-
Parks and sites: Many have clear rules on gas gear and clearances—follow their signage and you won’t have dramas.
-
Water sources vary: Inland bores and some tanks run "harder"; expect to descale a little more often than coastal rainwater.
Handy Camplux add-ons (keep it minimal)
-
Inlet pre-filter: Tiny part, big difference in dodgy water.
-
Spare O-rings & hose kit: Cheap insurance for longer tours.
-
Carry cover/bag: Less dust and UV, longer life.
-
Replacement showerhead: If yours gets crusty, a fresh head restores flow and feel.
You don’t need the whole catalogue—these few cover 90% of real-world hiccups.
Mini-FAQ
How often should I descale?
Only when the flow or temp starts to wander, or after several weeks of hard-water use. Many users on rainwater hardly touch descaling.
Can I use it in a semi-enclosed area?
Treat "semi-enclosed" as "probably too tight." If in doubt, move it outside or to a well-ventilated open-sided area.
Is a little yellow in the flame always bad?
A small flicker can happen in wind, but steady yellow and soot mean poor air or a blockage. Move spots and brush vents.
Why does it feel weaker at night in winter?
Cold bottles and cold inlet water make the heater work harder. Trim flow, run the flame steady, and keep the bottle off frosty ground.
Wrap-up (and a friendly nudge)
Regular maintenance on a Camplux doesn’t have to be a chore. Glance the hoses, rinse the filter, leak test with soapy water, drain after use, and descale only when needed. That’s it. Do those simple things and you’ll get consistent hot water, lower gas use, and fewer surprises when you’re miles from the nearest tap.
If you want part numbers, compatible accessories, or help with a quirky symptom, reach out to Camplux Australia support—we’ll point you to the right spares and step you through anything trickier. Happy camping, happy showers, no dramas.